Last updated Nov 21, 2023
Better calendar setup makes all the difference in how well your calendar works for you. So choosing how to organize your calendar is a key decision. It’s directly related to how your calendar functions, which means calendar organization can make you more or less efficient when using the calendar.
How you name and organize your sub-calendars is foundational to your calendar setup. Here are the features you can use with sub-calendars:
- Color-coding
- Control access to individual sub-calendars
- Disallow overlapping events
- Sub-calendar specific notifications
- Sync via iCalendar feeds
- Grouping in folders, nested folders
- Filter by sub-calendar
Access permissions for better calendar setup
How you organize your calendar is tied to how you let others access your calendar.
That’s because sub-calendars—which define your calendar organization—can be shared or not shared when adding a calendar user or creating a shareable link. You can share a sub-calendar, all sub-calendars, or selected sub-calendars, and set an access permission level for each sub-calendar shared with a user or by a shareable link. Or you choose not to grant access to a sub-calendar, depending on how each user needs to work with the calendar.
Custom event fields, on the other hand, are present for all users and links, unless the read-only, no-details permission is used.
Other sub-calendar features
With Teamup, you can create multiple sub-calendars and organize them in folders. Assign a color (choose from a selection of 40 colors) so you can color-code all your calendars. It’s also easy to nest folders for detailed organization or to indicate hierarchies.
You can set up sub-calendar specific notifications, and calendar users can create and manage their own notifications. These notifications include changes to events on a specific sub-calendar, a daily agenda, Slack notifications, and integrations with other apps via Zapier.
Choosing categories for better calendar setup
So, with that in mind, consider the categories you assign to sub-calendars carefully. Who needs access to each category? What actions do they need to be able to do with each category: view only? Add and modify only their events? Or have broader ability to edit all events on that “category” sub-calendar?
It can be tricky to figure out exactly what your calendar needs to look like to work best for your needs and your team. We’ve collected these ideas and sub-calendar inspirations to help you visualize and plan your perfect calendar setup.
- Set up team folders and team member sub-calendars
- Organize by departments with nested folders
- Organize by regions for international companies
- Set up sub-calendars for different company meetings and event types
- Organize a calendar for community events
- Set up calendars for individuals and different schedules
- Organize and manage deliverables or types of content
- Assign events to individual students and tutors for one-on-one appointments
- Organize by individual clients and available appointments for coaching or consulting
- Organize bookable rooms or shared spaces in your calendar
- Schedule and track shared equipment or resources
- Organize sub-calendars by the program type
- Organize sub-calendars by type of group
- Use stages of the workflow to set up a calendar
- Set up a project calendar by organizing for project phases
1. Set up team folders and team member sub-calendars
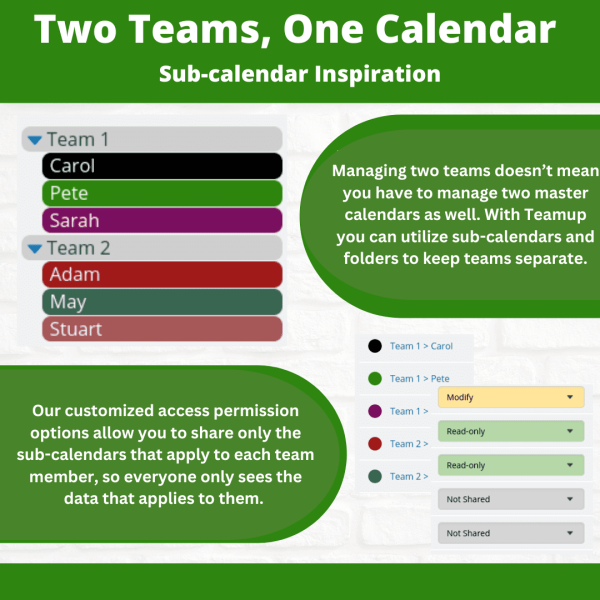
This is a great set up if you are managing multiple teams. Create a folder for each team. Then create a sub-calendar to each team member and put it inside the appropriate folder. Now you can add calendar users and assign permissions:
- You (or any supervisor) can have permission to access all sub-calendars and folders, so you can work with all teams and team members.
- Members of Team 1 get access only to the Team 1 folder and sub-calendars. They won’t even see the Team 2 folder.
- Members of Team 2 get access only to the Team 2 folder and sub-calendars.
2. Organize by departments with nested folders
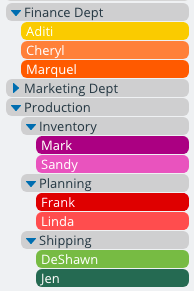
For a large organization with many departments and sub-departments, you can organize by nested folders.
Use the organizational flowchart and mirror it in your calendar. Start with a folder for each main department.
Then add nested folders for teams, projects, or regions within each department.
3. Organize by regions for international companies
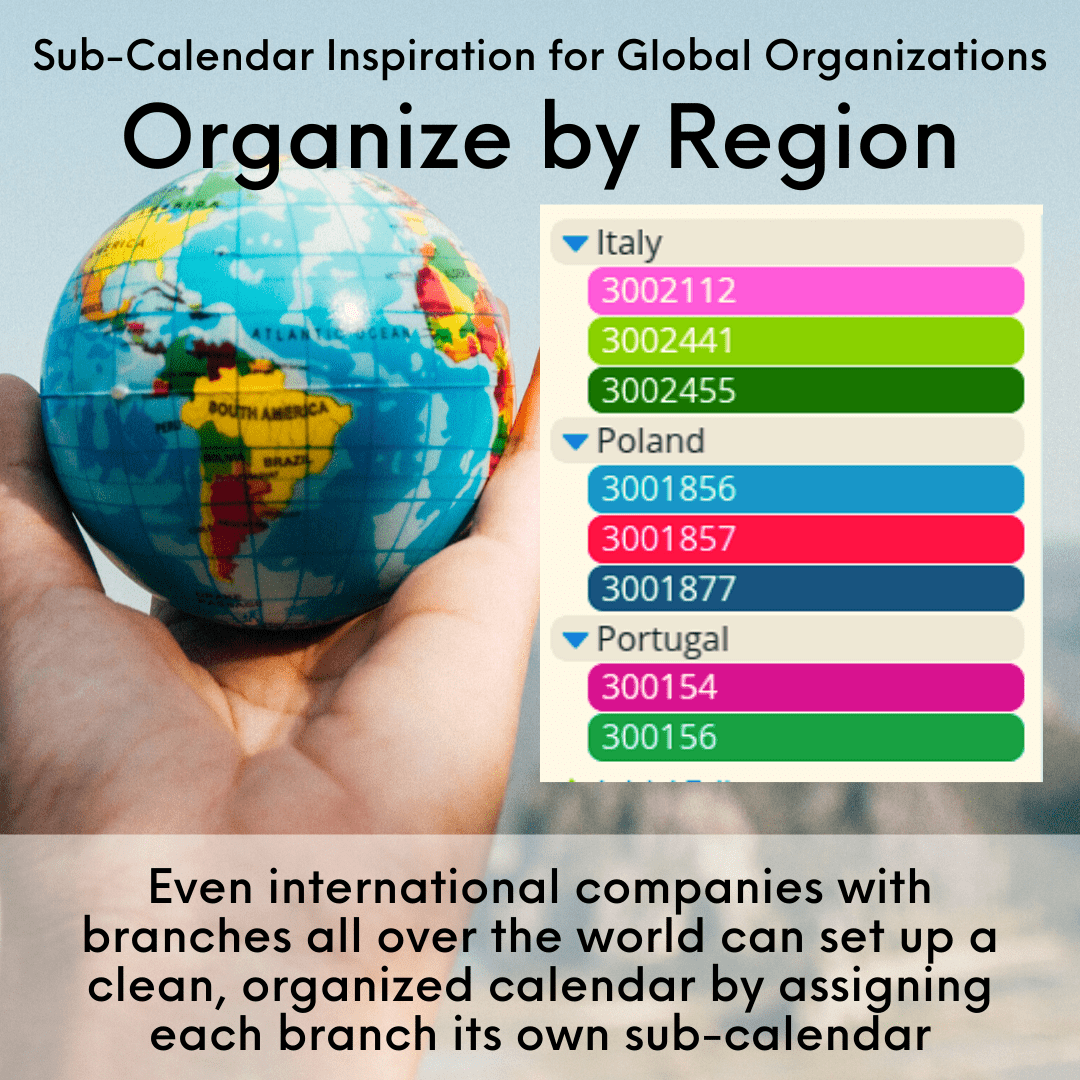
For international companies, or even for companies which cover a large amount of territory in one place, organizing by region can be a great solution. This setup works well for sales companies which operate by territory.
4. Set up sub-calendars for different company meetings and event types

At the beginning of the year (or anytime), you can set up a calendar for company meetings and events. Use sub-calendars to categorize the different types of events. If there are many event or meeting types, organize in folders. Or, alternately, create folders for various regions or departments to organize the sub-calendars.
Give access to the calendar according to which types of events are relevant for different users and groups. For example, you can create a user group for Sales; then give this group access to all sub-calendars related to sales meetings and events, as well as any company-wide event calendars.
5. Organize a calendar for community events
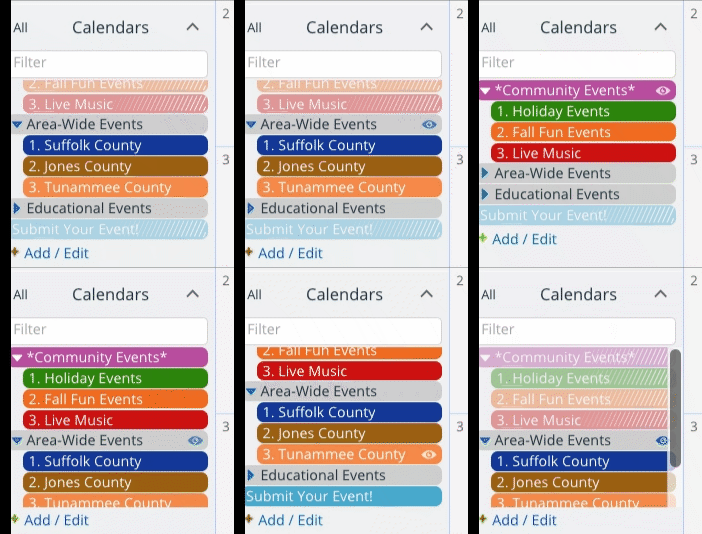
Using the same concept as above, you can organize event types for a community or hobby group or other organization. It’s a better calendar setup than throwing all community or group events into one big calendar, with no ability to search or sort.
This could be useful for curated events, online events, and local events. Create sub-calendars for each event type, such as Free, Local, Music, Volunteer, etc.
6. Set up calendars for individuals and different schedules
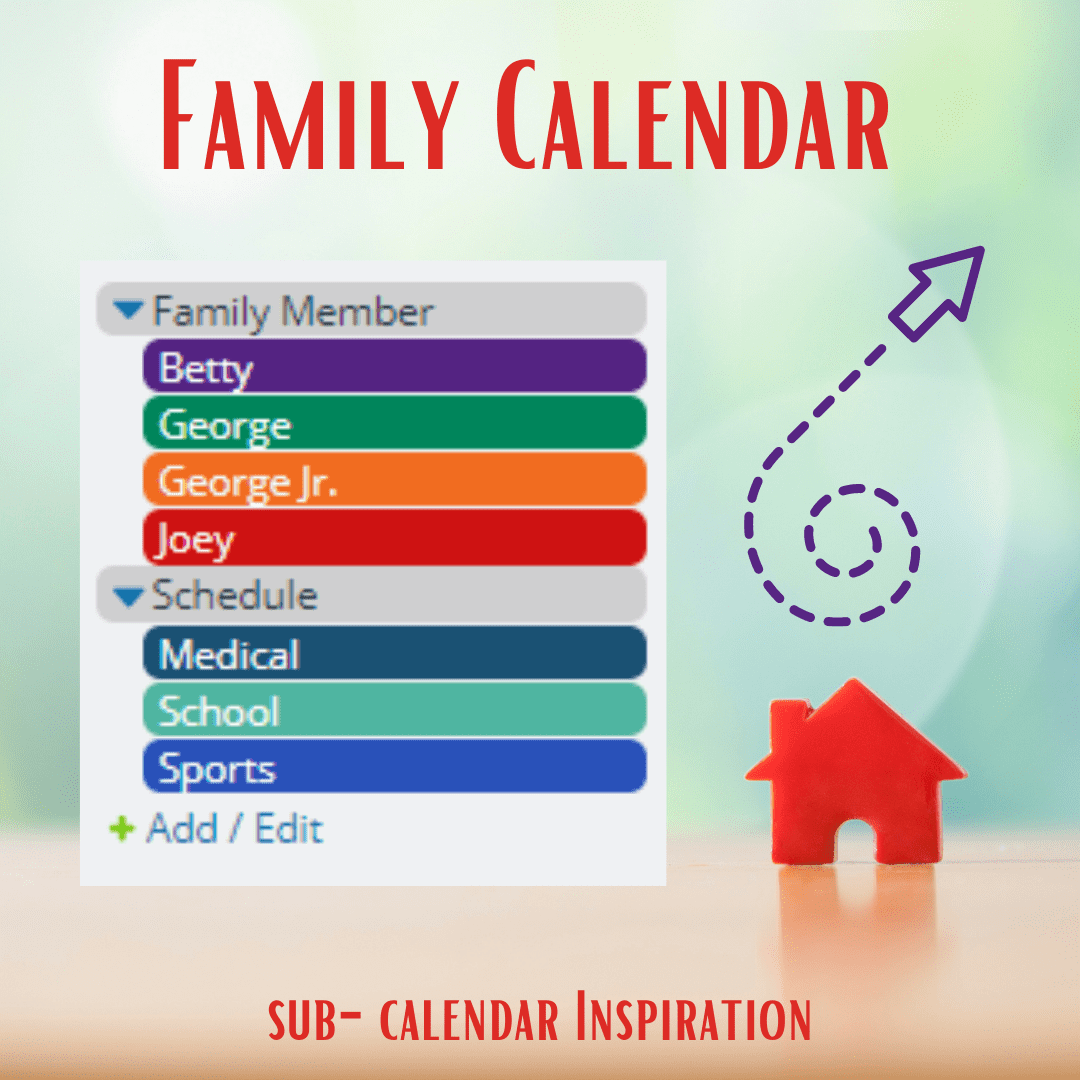
When organizing a family, there are many factors to think of. If you have to see all the scheduling details for all members of the family, it can get overwhelming. Further, not all scheduled events are relevant to all family members. To solve this problem, create a sub-calendar for each family member. Then create a sub-calendar for each schedule, such as School, Work, Chores, etc.
Use the one-to-many feature to input relevant dates and events on each schedule and add them to the sub-calendar of the relevant family member. For example, a school holiday for George Jr. would go on his calendar and on the School calendar . A half-day at school for Joey goes on School calendar and on Joey’s calendar. George Jr. can see his own schedule, Joey can see hers, and you or any other caretaker can see the entire school schedule for both children.
7. Organize and manage deliverables or types of content
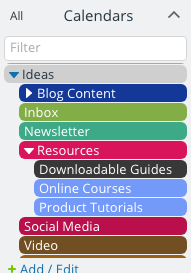
Schedule and track types of content or other deliverables with Teamup. First, categorize your main deliverables. For content, you might use blog post, case study, guest post, and infographic. These main categories become individual sub-calendars.
Then you can create other sub-calendars for your work process. For example, if you work with a team, create a Team folder with a sub-calendar for each team member. Then each “content piece” can be assigned to the right content sub-calendar and to the responsible team member’s calendar. Or create sub-calendars to track which content pieces are new, in progress, and completed.
8. Assign events to individual students and tutors for one-on-one appointments
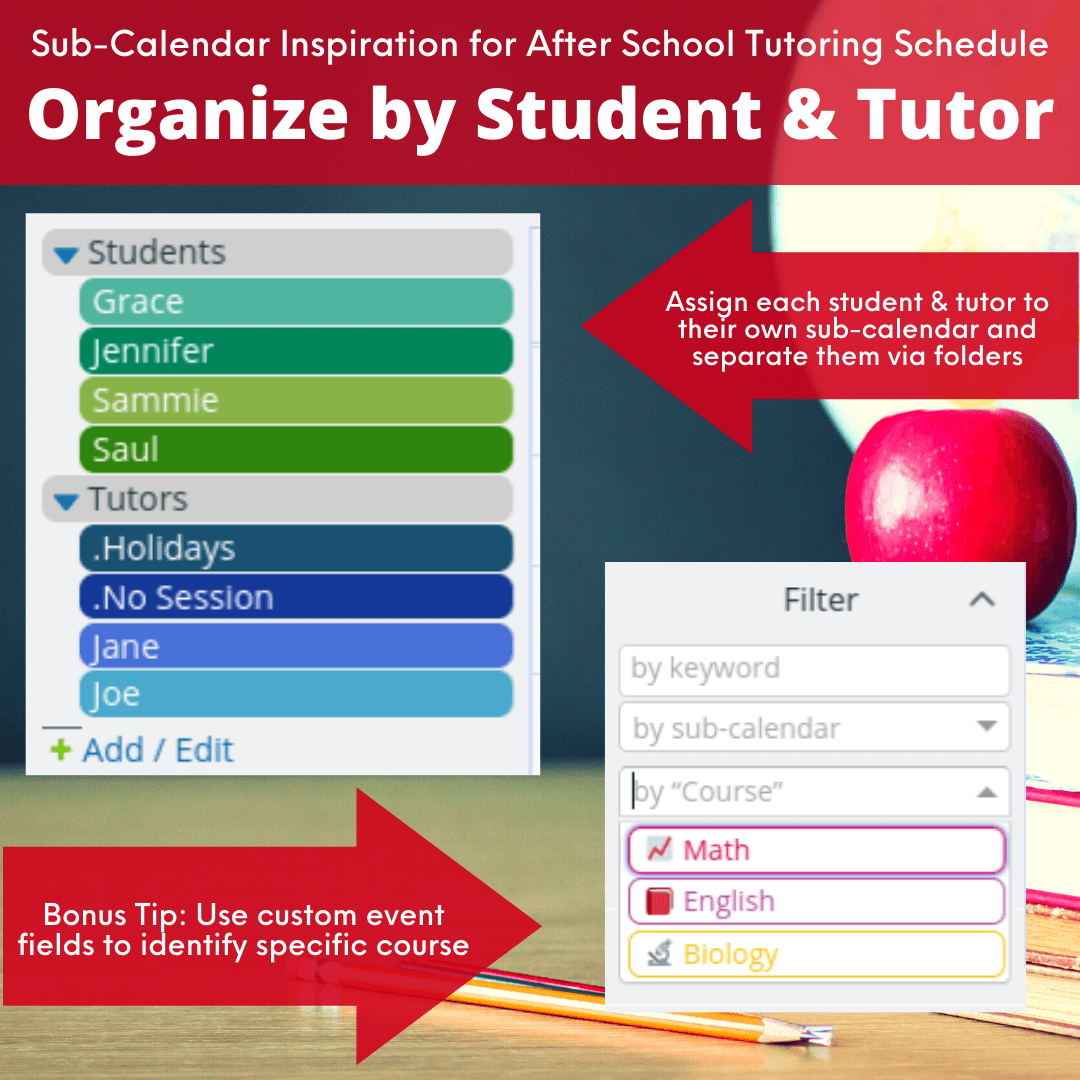
To create a calendar for tutoring appointments, make one folder for tutors and a calendar for each tutor. Do the same for students: a folder keeps the student calendars visually separate.
Tutors can input their available tutoring hours, or appointment times, on their own calendars. Then students (or parents) can “claim” an open tutoring time by adding it to their own calendar, as well.
9. Organize by individual clients and available appointments for coaching or consulting
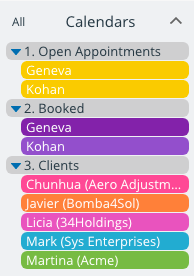
Use the same concept as students and tutors to set up a calendar for individual coaching, consulting, or other one-on-one appointments. In this case, you could create one calendar for “Open Appointments.” Then add a folder for clients and a sub-calendar for each client. Give each client read-only access to the Appointment calendar, read-only, no-detail to other client calendars, and add or modify permission for their own calendar. With this access, they can see all Appointment slots, add their own Reserved slots, and see all other “Reserved” spots but not see any other client’s personal information. More details here.
10. Organize bookable rooms or shared spaces in your calendar
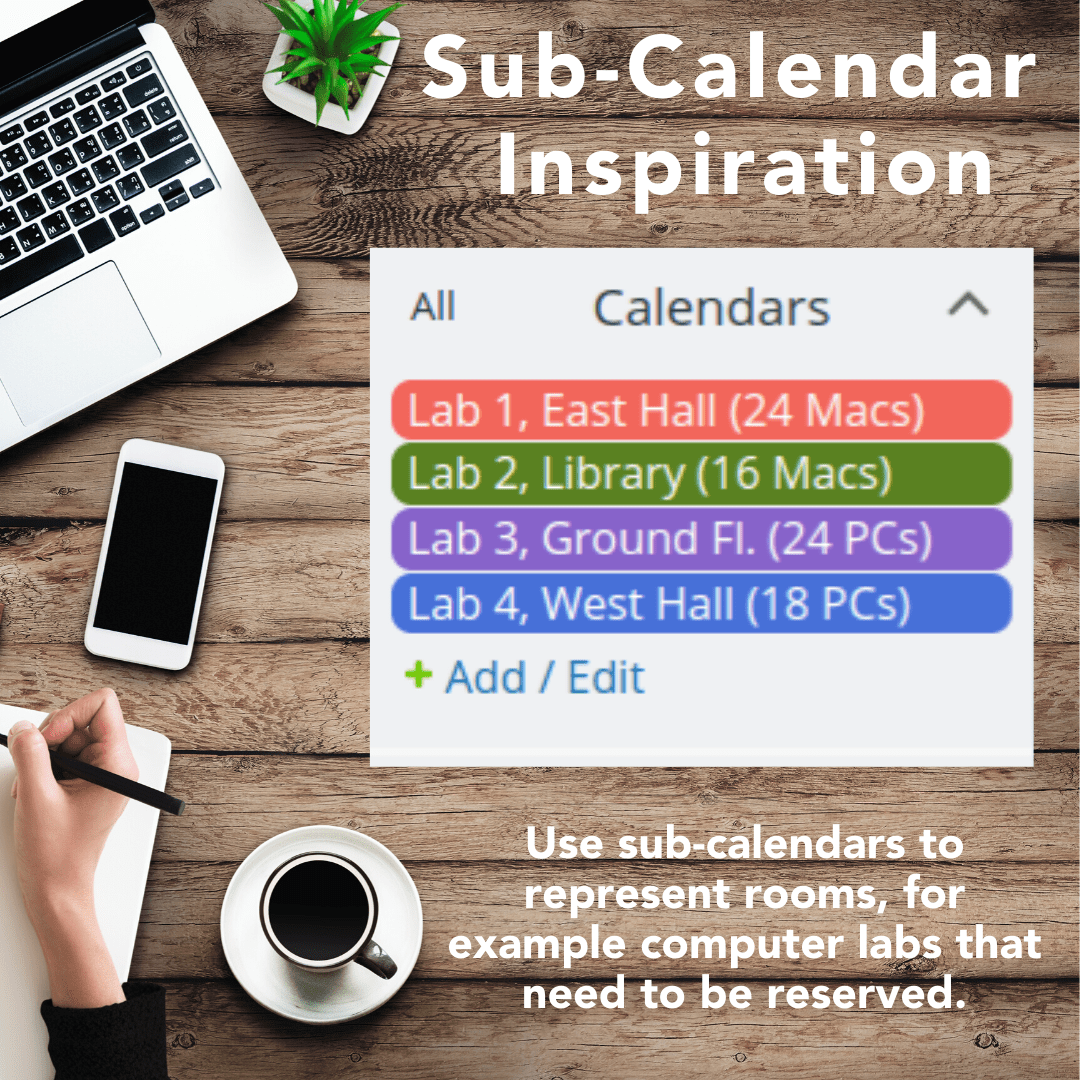
If you manage shared rooms or other shared spaces, this approach can work well for a better calendar setup. Add a calendar for each room or space and disallow overlapping events. This prevents accidental double-booking. Then add each team member as a calendar user and give them modify-from-same-link permission for the room calendars. Each person can schedule their own use of the rooms, but cannot modify or remove usage scheduled by other team members. Learn more here.
11. Schedule and track shared equipment or resources
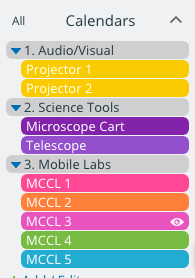
Using the same organization as the shared space calendar, you can create a calendar to organize, schedule, and track shared equipment and resources. In this case, create a sub-calendar for each resource or piece of equipment.
Use folders to sort these in a way that makes sense: for example, a school might use folder categories like Audio/Visual Equipment, Research Tools, Mobile Labs, etc. Give teachers or other users a modify-from-same access permission to schedule use of the resources.
12. Organize sub-calendars by the program type
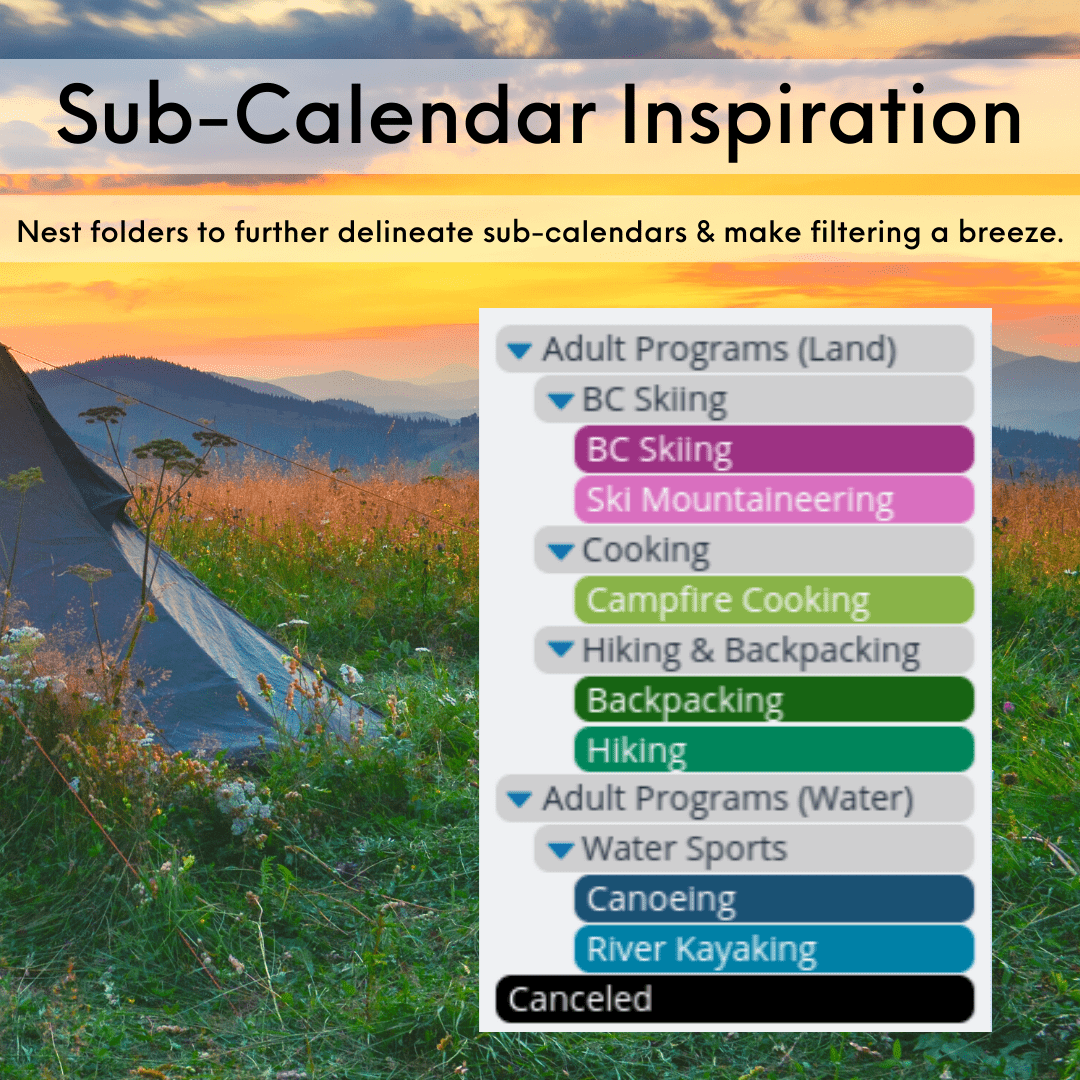
In this example, a better calendar setup is organized for scheduled programs and events. The sub-calendars are put into folders by the type of program. Nesting folders allow this organization to be very detailed, so users can find exactly the type of program or event they’re most interested in.
13. Organize sub-calendars by type of group

Do you work with different groups of people within an organization?
Create a folder for each group: for example, this Music School has a folder for Receptionists, Students, and Teachers. Now each individual has a calendar within the appropriate folder. Receptionists can have access to the whole calendar, to view and manage lessons and staff meetings. Students can be given access only to their own calendar and the appropriate teacher’s calendar.
14. Use stages of the workflow to set up a calendar

Want to see your workflow get efficient and effective? Better calendar setup can be used to track the stages of your workflow for each task or deliverable.
Each major stage of your workflow becomes a sub-calendar. Then, when you add a task to your calendar, put it on the appropriate stage. As you “move” the event forward, move it to the next stage of your workflow. The Scheduler view works really well to visualize what you have going, and you can drag each item from one column to the next.
15. Set up a project calendar by organizing for project phases
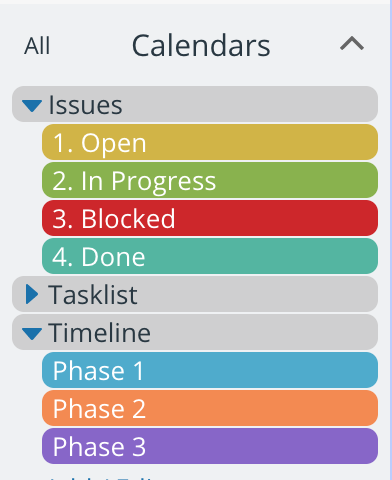
Use the same idea as organizing for workflow stages, but create categories that correspond to the major phases of a project.
You can be as specific or as broad as needed; if you have many specific phases, use folders to organize them so you can focus on the relevant items.
Ready to create a better calendar setup for yourself? Learn more about color-coded sub-calendars here, or try them out on a live demo calendar.


