
Last updated Oct 10, 2023
To manage remote teaching and distance learning, you need to share the classroom schedules, resources, links, and downloads for each class. You need to make sure teachers have the resources they need, and students understand what to do and how to do it. To keep distance learning smooth and productive, set up a central place–such as a shared calendar–to provide schedules and information about meetings, online resources, homework, and more.
Table of Contents
- Staying organized with remote teaching
- Set up the distance learning calendar
- Managing the calendar: two ways
- Sharing the calendar: two ways
- Provide access to teachers
- Provide access to students and families
- What to share on the calendar
There are many remote learning software options and resources available. You can use a variety of services for live webinars, streaming lectures, or multi-participant video calls.
And there are many online educational options for research, lesson plans, educational videos, and more.
Staying organized with remote teaching
The big challenge in remote teaching and distance learning can be keeping all these options and resources organized and accessible. And then–the biggest challenge–communicating to everyone involved:
What’s that Zoom link again? When does the Skype seminar start? Could you send me the link to the Youtube video we were supposed to watch? Where do I go to download the presentation? How do I submit the homework?
Providing information and answers–and helping everyone know what to do, when–can take up more time and energy than the remote teaching itself.
To avoid information misses and communication bottlenecks, set up a central dashboard. This central dashboard can hold all the information and links needed to use distance learning successfully.
Let’s look at how Teamup, a shared calendar, can work as a central dashboard to manage remote teaching.
🔗 Learn more about how to enable telecommuting with Teamup.
Set up the distance learning calendar
First, create your free Teamup calendar here. The free (Basic) subscription includes up to 8 sub-calendars. Here are some ideas for how to set up your sub-calendars:
- Create one sub-calendar for each grade level:
- Third Grade
- Fourth Grade
- Or create one sub-calendar for each subject:
- Science
- Math
- History
- Or create one sub-calendar for each subject, organized in a folder by grade level:
- Third Grade > Science
- Third Grade > Math
- Fourth Grade > Science
- Fourth Grade > Math
🔗 Learn more about sub-calendars and folders.
Managing the calendar: two ways
In this post, we’re mostly talking to a single calendar administrator–perhaps a school director or principal–who would set up the shared calendar for all teaching staff.
However, it’s also quite possible to manage remote teaching calendars in a more autonomous way. Individual class or subject teachers could be the calendar administrators for their own calendars. For example, the third-grade teacher could create her own Teamup calendar, create sub-calendars for each subject, create and share the link with her students, add and manage all content and events on the calendar. Each grade-level teacher could do the same. Then the school administrator could create an overview calendar, and add an inbound iCalendar feed from each individual teacher’s calendar.
🔗 Learn more about creating an overview calendar with iCalendar feeds.
Sharing the calendar: two ways
Teamup is designed to be used by groups. You can securely share your entire calendar without risking data loss. There are two ways to share a Teamup calendar with others:
- Grant calendar access through user accounts.
- Grant calendar access through customized shareable links.
We’ll take a look at how to provide calendar access to teachers through user accounts, and how to provide calendar access to students and families through customized, shareable links. Note: all sharing set-up (for users and links) must be done with administrator access in a browser. You cannot create or manage users or shareable links on the Teamup mobile apps. However, once you have created the links and/or users, your teaching staff and students can access your Teamup remote teaching calendar on the Teamup mobile apps for iOS or Android.
Provide access to teachers
To set up your teachers as account-based calendar users, go to Settings > Sharing. From there, choose Add User. Enter the email address for the teacher you wish to add. Then scroll down to configure the permission level for that teacher. Here’s how it works:
- You can choose which sub-calendars each teacher can access.
- You can choose the permission level for each sub-calendar.
So, let’s say that Teacher Luci is the teacher for science and math.
- She gets Modify access to the sub-calendars for science and math, for all grades.
- She gets Read-only access to the sub-calendars for other subjects, for all grades.
This way, she can see the big picture: when other classes are scheduled, what homework they have, the specific topics they are covering, etc. But she can only add, delete, or modify events on the sub-calendars for the subjects she is teaching: science and math.
Working with groups
Repeat this process of adding users for each member of your teaching staff. If needed, you can create a group (for example, all Elementary Teachers); set the permissions for the entire group; then add individual users to the group. That’s a bit faster, because then you don’t have to configure the permissions for each teacher individually. See more details here.
Accepting the calendar invitation
When you add Teacher Luci as an account-based user to your remote teaching calendar, she will receive an email invitation to join your calendar. She can click the link in the email invitation. If she doesn’t have a Teamup user account, she will be prompted to create one. Your calendar will be on her calendar dashboard automatically. She can then log in with her Teamup user account on any browser or on a Teamup mobile app, and access the distance learning calendar from her calendar dashboard.
If needed, you can resend the email invitation. See details here.
🔗 Learn more about adding users and groups.
Provide access to students and families
To provide access to students, families, and other supporters, let’s use a customized, shareable link. This will allow students to access the calendar without needing to log in or have a user account. Go to Settings > Sharing, then choose Create Link. Name the link (something like “Student Access” or “Public Access”). Then scroll down to configure the permissions for this link:
- Choose which sub-calendars you want to include. In most cases, you would include all sub-calendars, unless you have some sub-cals dedicated to administrative details or staff events that the students and families do not need to see.
- Choose the permission level for each sub-calendar. In most cases, you will choose Read-Only permission for all sub-calendars. This will allow students to view what’s on the calendar, but not to add to, modify, or delete anything on the calendar.
Once you have set the permissions as needed, click the green Save button. Now you can copy the link and share the calendar.
🔗 Learn more about customized shareable links.
Share the calendar link
You can simply email or text the shareable calendar link with your students and others. They can then open the link in any web or mobile browser to view the distance learning calendar.
Students can access the calendar on their mobile devices, too:
- Download the appropriate Teamup app (for iOS or Android).
- Have the calendar link ready. (See here for details.)
- Open the Teamup app.
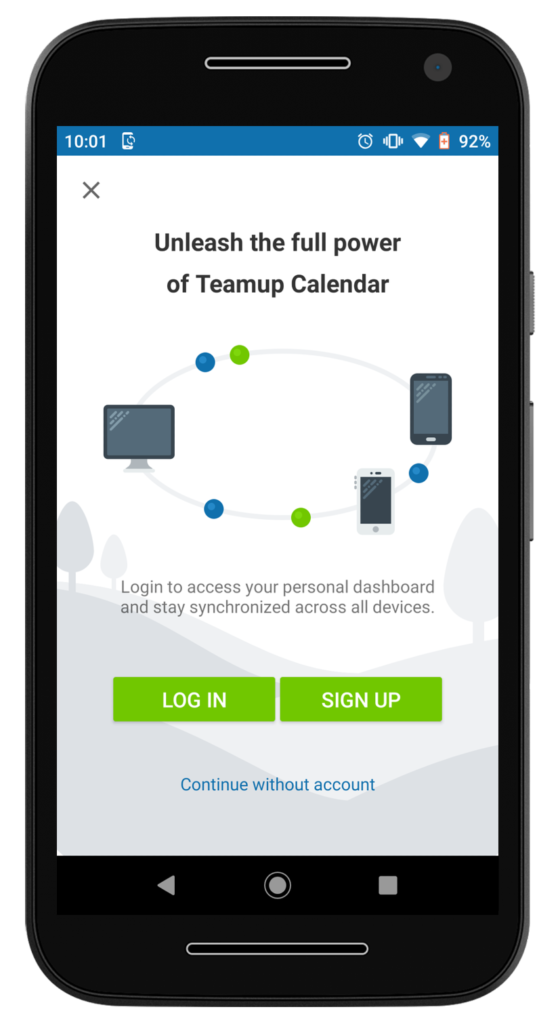
- Tap the blue Continue without account text link below the green buttons.
- On the next screen, choose to Connect an existing calendar.
- Paste in the link.
- The calendar will load in the app.
🔗 Learn more about Teamup mobile apps.
Embed the calendar
You can use Teamup’s embed wizard to share an embedded calendar. Copy the calendar link you created, then go here to use the embed wizard. Paste in the calendar link and adjust the appearance and settings as desired. Copy the resulting iFrame code or URL and paste it into your website or blog.
You can also use our WordPress plugin to embed a Teamup calendar in your WordPress site. See more details here.
🔗 Learn more about how to embed a Teamup calendar.
What to share on the distance learning calendar
Think about the questions you and your teachers keep answering over and over again. Can you put the answers on your calendar, so students and families can access the information as needed?
Here are a few ideas:
- Create a weekly repeating event with all the basic essential information: Zoom or Skype link, Google Classroom link, links to other frequently used resources, FAQ.
- Create an event for every live-learning session or recorded seminar: the link, the login information/code, the time, how long it will be, and what students need to have on hand (notebook, etc.) and if they should have done other preparation (such as reading, research, etc.).
- Enable event comments for all users (see more here) to that students and parents can ask questions on the calendar rather than taking a discussion to email, messaging, etc. Keeping all the information and discussions in one place makes everything easier to manage.
- Share all the details about homework, reading, learning assignments, or other follow-up activities. Add links or put all the information in the Description field. You can also upload files or images.
- Give instructions about how students should submit their homework. You could have students use a service such as Google Docs, then share the link to their completed homework in the event comment, or messaged privately to the teacher.
The more information you can provide in this central calendar, the easier it will be to manage remote teaching.
Please share with us your needs so we can support you better.
Send your request for the free upgrade to support@teamup.com.