Last updated Sep 20, 2022
Managing a community event usually means working with a group of people to accomplish a single purpose. Many times, you’re working with volunteers and others who already have full-time jobs and obligations. Everyone has varying schedules and limited available time.
Your job is to find ways to coordinate everyone involved so that the work gets done and the event is a success.
That’s no small thing.
Teamup can help you delegate tasks, set deadlines, and exchange information with all the people involved. It can also help you see the big picture as well as the detailed pieces. When you’re ready to start marketing the event to the surrounding community, Teamup can help with that, too. Let’s take a look!
- Create a main event calendar
- Delegate tasks and other assignments
- Exchange information and stay on track
- Promote the event to the community
- Create a community calendar
Create a main event calendar
Start by creating a main calendar that everyone involved can access.
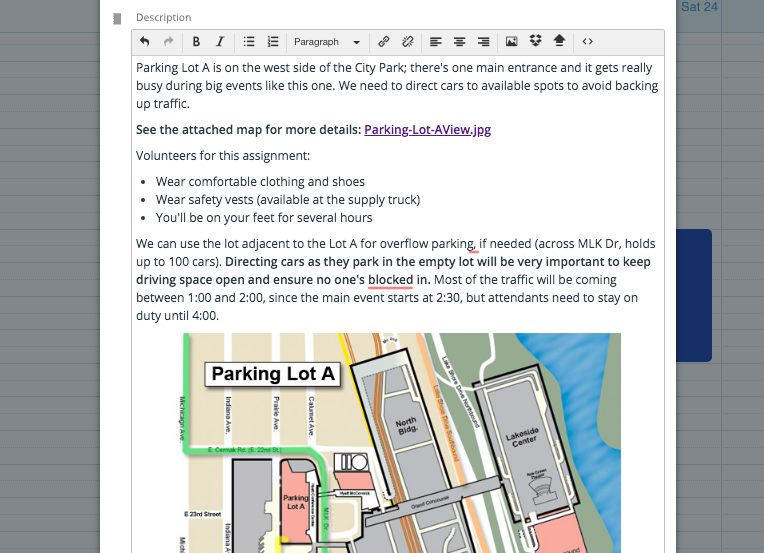
Add the event itself and all the major milestones and goals leading up to it. Be sure to include important information in the notes section: location details, link to a map, specific instructions. You can also upload documents or photos. For example, if you have “stage set-up” scheduled for the day before the event, upload a checklist so that no one is left wondering exactly what needs to be done.
It’s a good idea, usually, to set the sharing link to a read-only permission: avoid any accidental changes or deletions. Share the link with everyone involved. They can see the scheduled tasks and priorities for each week and day, as the event approaches.
Delegate tasks and other assignments
You can set up sub-calendars for different committees or work groups involved in the event. Maybe you have a “set-up crew” and a “clean-up crew.” Create a sub-calendar for each crew and assign editing permission to the lead person(s). The crew manager can add specific tasks, with instructions and location details, to the calendar and share the read-only link with the entire crew.
Alternately, if you have various independent groups and/or individuals volunteering, you can assign each one a sub-calendar. They can use their sub-calendar to add in their available times. Then, as you create and schedule tasks and activities, you can add each one to an available group’s or individual’s sub-calendar.
Exchange information and stay on track
As mentioned earlier, you (or anyone using the calendar, with the appropriate permissions) can add information to each event. That could be anything from a checklist to a photo, as well as links to map locations, website forms, and so on. You can even customize event fields for your specific needs.
Keeping all the material attached to the calendar event ensures that every person involved can find what they need, when they need it.
That feature alone can save hours and eliminate dozens of those “Could you send me the link to…?” emails and text messages. Easy access to all the information needed creates autonomy. And autonomy makes for happier people doing more efficient work.
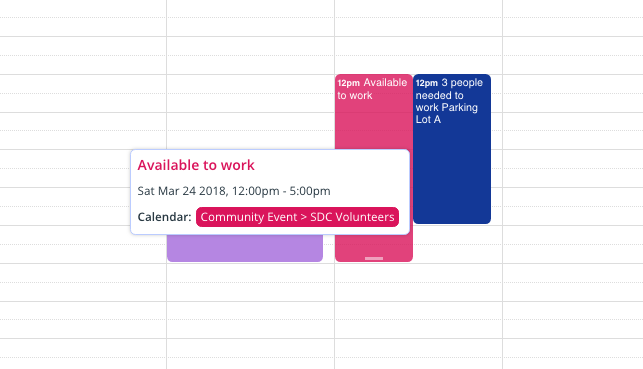
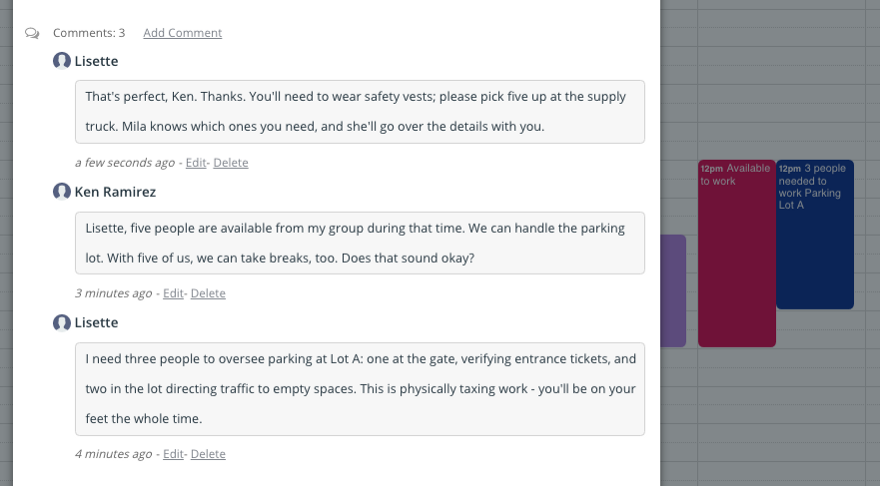
You can also get feedback from the groups and individuals as they handle the tasks and events on the calendar. The comment feature on individual events is helpful for assigning tasks and working out details.
Here’s an example:
Another easy idea is to create a “Completed” sub-calendar. When a task is finished, the person in charge can add it or move it to the Completed calendar. All the notes, comments, and other information stays with the event, but everyone can see that it’s been completed already.
Promote the event to the community
There are a few great ways to use Teamup to promote your community event.
Share a public calendar
First, you can create a public-facing calendar. For complex events which take place over multiple days and have many options, this is a great way to share event information. You can customize event fields to provide just the right info, too.
Put the whole schedule on a calendar, with the pertinent information for each separate event (description, map, requirements, so on). You can then share the calendar via a read-only link.
Share on social media
Or use one of the many sharing options to promote the event on any social media outlet, via email or text message, and on blogs and websites. It’s also very easy for other people to share, so awareness of the event can keep growing. Include the link on any event flyers or other materials, as well, so that attendees can access the calendar anytime.
Share an event page
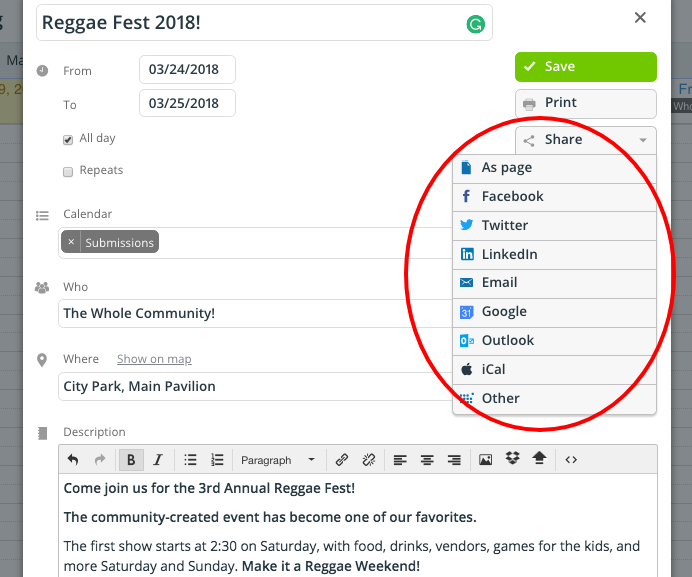
Note that you can share a single event as a webpage. This is a great tool for promotion, perhaps for a smaller, single event — such as a workshop or dinner — within a larger, multi-day community event. You can also invite people to an event via social media, email, and more (see the list in the screenshot above).
Embed a calendar
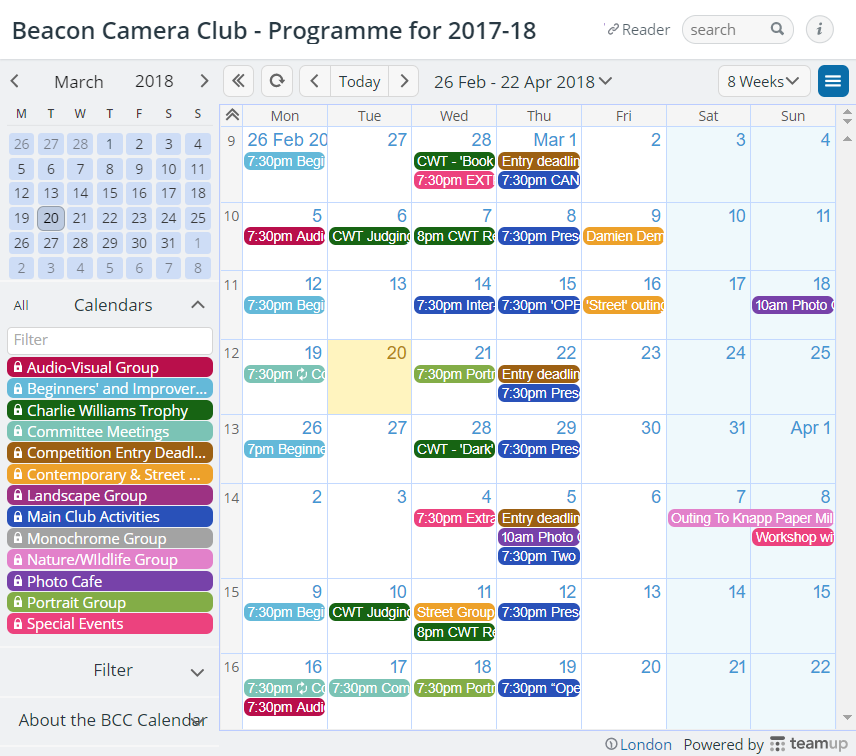
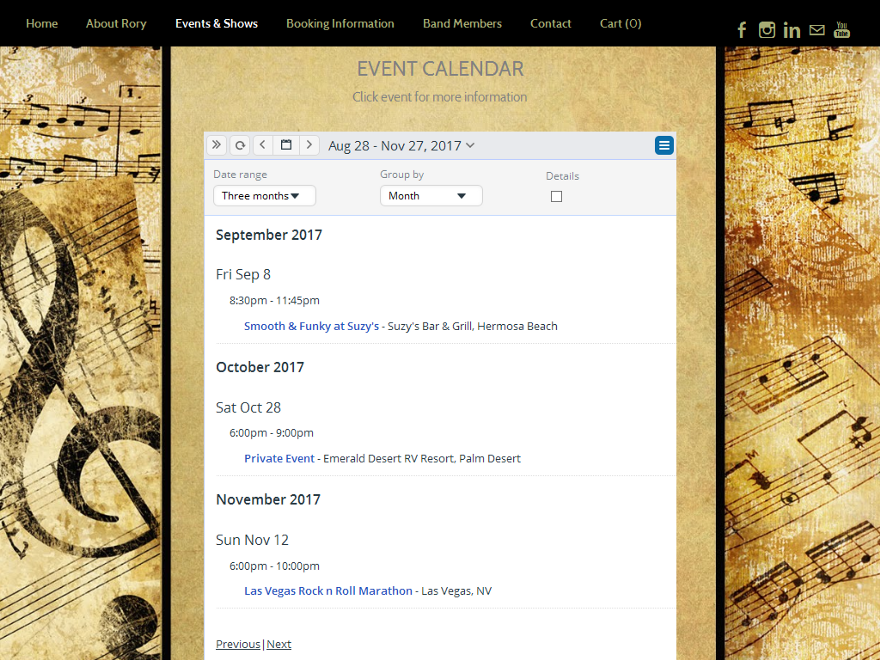
Or you can embed a list of events or activities on a webpage. This is another way of sharing a public calendar — but instead of sending community members directly to the calendar, you send them to the webpage where the calendar is embedded. If there’s already a community or organizational website connected to the event, this can be a great option. Here’s an example:
Create a community calendar
We’ve focused mainly on one-time events in this post, but you can also use Teamup (as many groups do) to create an ongoing calendar. You can schedule recurring events, make the calendar accessible by website, and share it the community.
Check out our inspiration page for more great examples of community calendars.


