
Last updated Sep 20, 2022
Are you collaborating remotely with clients, contractors, a remote team, or others in your network? Teamup calendar allows you to create and manage unique, customized calendar access for every individual or group. Grant limited access to clients and contractors. Set up role based access control for your team members. Even securely share some or all of your calendar with large groups or the public. With Teamup, when you share a calendar, you choose which parts of your calendar are visible to others, and how they can interact (or not).
Table of Contents
- Securely share a calendar
- Role-based access control with Teamup
- Configuring permissions for each team member
- Setting up role-based user groups
- Share calendar with limited access for others
Securely share a calendar

Teamup calendars can be shared in two different ways: via account-based user access or via customized, shareable calendar links.
- Account-based user access is perfect for setting up role-based access control. Add your team members to your calendar, then configure the calendar access and permissions for each team member based on their role in the organization. Update permissions and manage users easily as needed.
- Customized, shareable calendar links are great for providing limited access when you share a calendar with others. You can customize a shareable calendar link for a client, allowing the calendar view and permissions needed for that individual. When the client no longer needs calendar access, delete the link.
Role-based access control with Teamup
Role-based access control (RBAC) is a method of achieving both security and efficiency at the same time. By assigning permissions to individual users based on their role within an organization, each individual is free to access the information needed to do their job. It can take a bit of initial work to get role-based access control in place for your team or organization. However, once set up, everyone can function more freely within their role without jeopardizing security or confidentiality.
Account-based user access makes it easy to implement role-based access control with your Teamup calendar. With nine levels of access permission, you can give each person exactly the calendar access they need.
You will add each team member as a user of each calendar. (Details here.) Once you add them as a user, they’ll receive an email invitation to join your calendar. To access your calendar, they simply follow the link in the email to register a free Teamup user account and open the calendar.
Benefits of account-based user access
Having account-based user access provides more security and enables several calendar features:
- Teamup account users can log in to their Teamup account on any web browser or on the Teamup mobile apps.
- They will have an automatically synced calendar dashboard.
- They can set up event reminders or notification subscriptions.
- For you, the calendar owner, it means that you can easily manage the calendar access each team member has. For each calendar account user (or group), choose which sub-calendars they can access and what they can do with each calendar.
🔗 Read more about managing account-based calendar users.
Configuring permissions for each team member
When you add a team member as a calendar user, you will control which sub-calendars they can see, and what permissions they have. You can set these permissions depending on each person’s role in the organization.
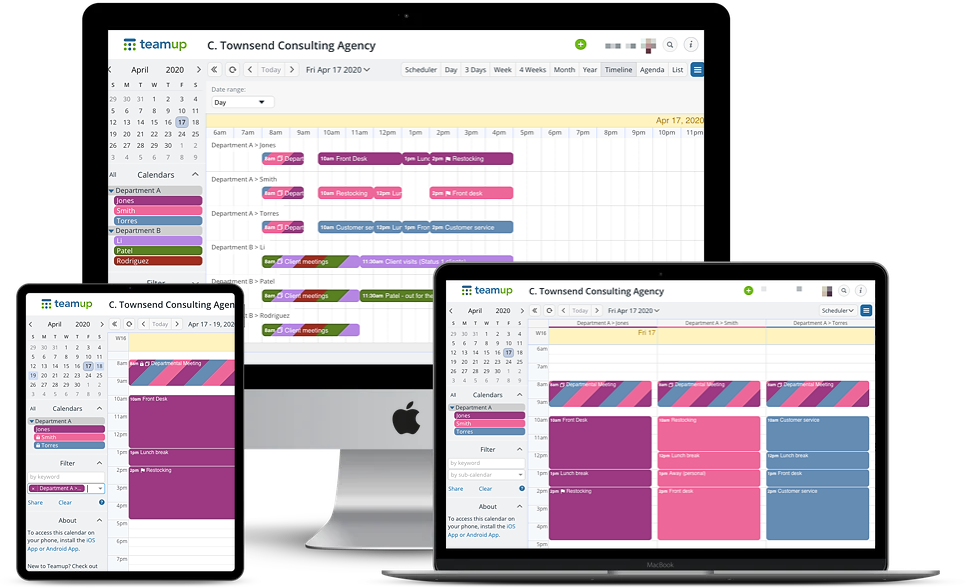
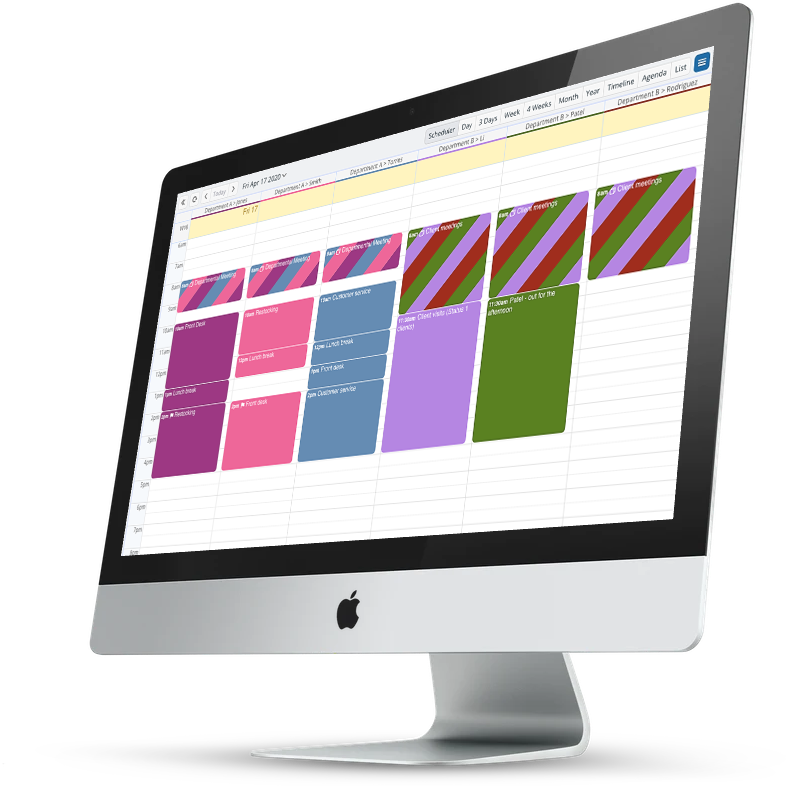
For example, your master calendar may have individual sub-calendars for both Department A and Department B. The sub-calendars can be organized in separate folders.
Here’s how role-based access control might work:
- For the head of Department A: include all sub-calendars in the Department A folder. Give them modify permission for all the included sub-calendars.
- For an employee of Department A: include all sub-calendars in the Department A folder. Give the employee modify-from-same permission for their own sub-calendar, and read-only permission for the other included sub-calendars. Modify-from-same permission means that the employee can only add, delete, or modify events that they have added to the calendar.
- For a multi-department supervisor: include all sub-calendars in both Department A and Department B folders. Give them modify permission for all the included sub-calendars.
The result will be three unique calendar view, with three different levels of permission, for the three individuals.
Setting up role-based user groups
You can also organize your team into groups, if needed.
Groups are a convenient way to organize users. Let’s say you have a sales team of 10 people. They all need the same access to the calendar. Instead of going through the tedious process of assigning the sub-calendars and permissions for each of these users, you can create a group. You’ll set the access permissions for the entire group, then add individual users to the group.
🔗 Read more about working with groups.
Share calendar with limited access for others
What if you need to share a calendar with people outside of your organization? You can still do so securely with shareable links. Customized, shareable calendar links allow you to provide limited access to your calendar. Since there’s no login required to use a shareable link, it’s an easy but secure way to allow temporary or limited access to your calendar.
Using customized shareable links
Customized shareable calendar links allow you to set up limited access and permission control, as you can with account-based user control. You can choose which sub-calendars are included in each calendar link. And you can set the permission level for each sub-calendar, as well.
Here are a few things to keep in mind with shareable calendar links:
- Shareable links can be used to provide limited access when you share a calendar.
- Shareable links are not linked to a user’s email address and do not require a login.
- Shareable links do not enable calendar features such as event reminders.
- Shareable links cannot be added to groups (as users can be).
- Shareable links can be added to an individual’s synced calendar dashboard; however, the individual must have a Teamup user account to have a synced calendar dashboard.
What you can do with shareable calendar links
Creating a calendar link to share your calendar with others is simple:
- Go to Settings > Sharing.
- Choose Create Link.
- Select which sub-calendars to include in the link.
- Set the permission level for each sub-calendar included.
- Copy the link, then share/send as needed.
🔗 Read more about working with shareable links.
Here are a few ways to use a shareable calendar link:
- Create a secure, read-only link and use it to display a shift schedule or calendar of meetings and appointments on the office monitor.
- Create a unique shareable link showing only certain sub-calendars to use in a virtual meeting when you need to share your screen.
- Create a unique shareable link for a client. Include only that client’s sub-calendar in the link. Set the permission to modify-from-same so that the client can add events, and remove/modify the events they added to the calendar, but cannot remove/modify the events you have added to the calendar.
- Create a shareable link that includes read-only access to a project sub-calendar so that clients or contractors can keep track of the project timeline.
- Create a read-only link, then use that secure link to embed your calendar on a company website or share in a newsletter. You can delete the link when you no longer with the calendar to be viewable.
Take Teamup for a test drive with our fully functional live demo calendars. Or go ahead and create your own Teamup calendar today.
Photo by Christina @ wocintechchat.com on Unsplash