Single-choice fields are a type of custom field that allows users to select a single option from a drop-down menu. By setting it to show in the event title, users can get a quick overview of the events and see the information without having to open the event. It also allows the information to be accessible in a few clicks within the event editor without having to type out the details.
Noteworthy is that all custom fields can be displayed in their own column on the Table view, allowing a quick glance of the statuses for a specific category of information.
Example scenarios for single-choice fields
- To indicate if an event is “Public” or “Private”
- To show the status of the task such as “Open” or “Done”
- To show the current task status within a workflow process, such as “In Progress”, “Scheduled”, or “Completed”.
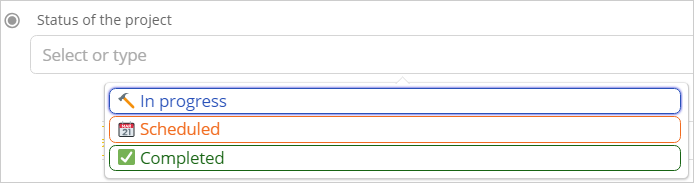
Single-choice field drop-down menu in the event editor.
Step by step
- Open your calendar in a browser with admin access.
- Go to Settings > Event Fields and click the New Field button in the top right corner.
- Enter the custom field name and select “Choices” and then “Single-choice” from the Type drop-down menus.
- Enter the choice names and set the colours and emojis (optional).
- Select Yes or No for making the field required and showing it in the event title.